
Worn brake pads and brake discs can reduce braking performance and cause vibration and unusual noise. This guide provides a general overview of how these parts are usually replaced on a passenger car.
Important: Brakes are safety-critical components. Procedures and tightening torques vary between vehicles. Always use the workshop manual for the relevant model. If you are uncertain, the work should be performed by a qualified workshop.
What you need
- Garage jack and approved axle stands
- Wheel wrench and socket set
- Torque wrench
- Tool for pressing or winding back the brake piston
- Wire brush and suitable brake cleaner
- New brake pads and brake discs suitable for the vehicle
- New fitting parts or slider bolts when required by the manufacturer
- Suitable lubricant for contact points, never for friction surfaces
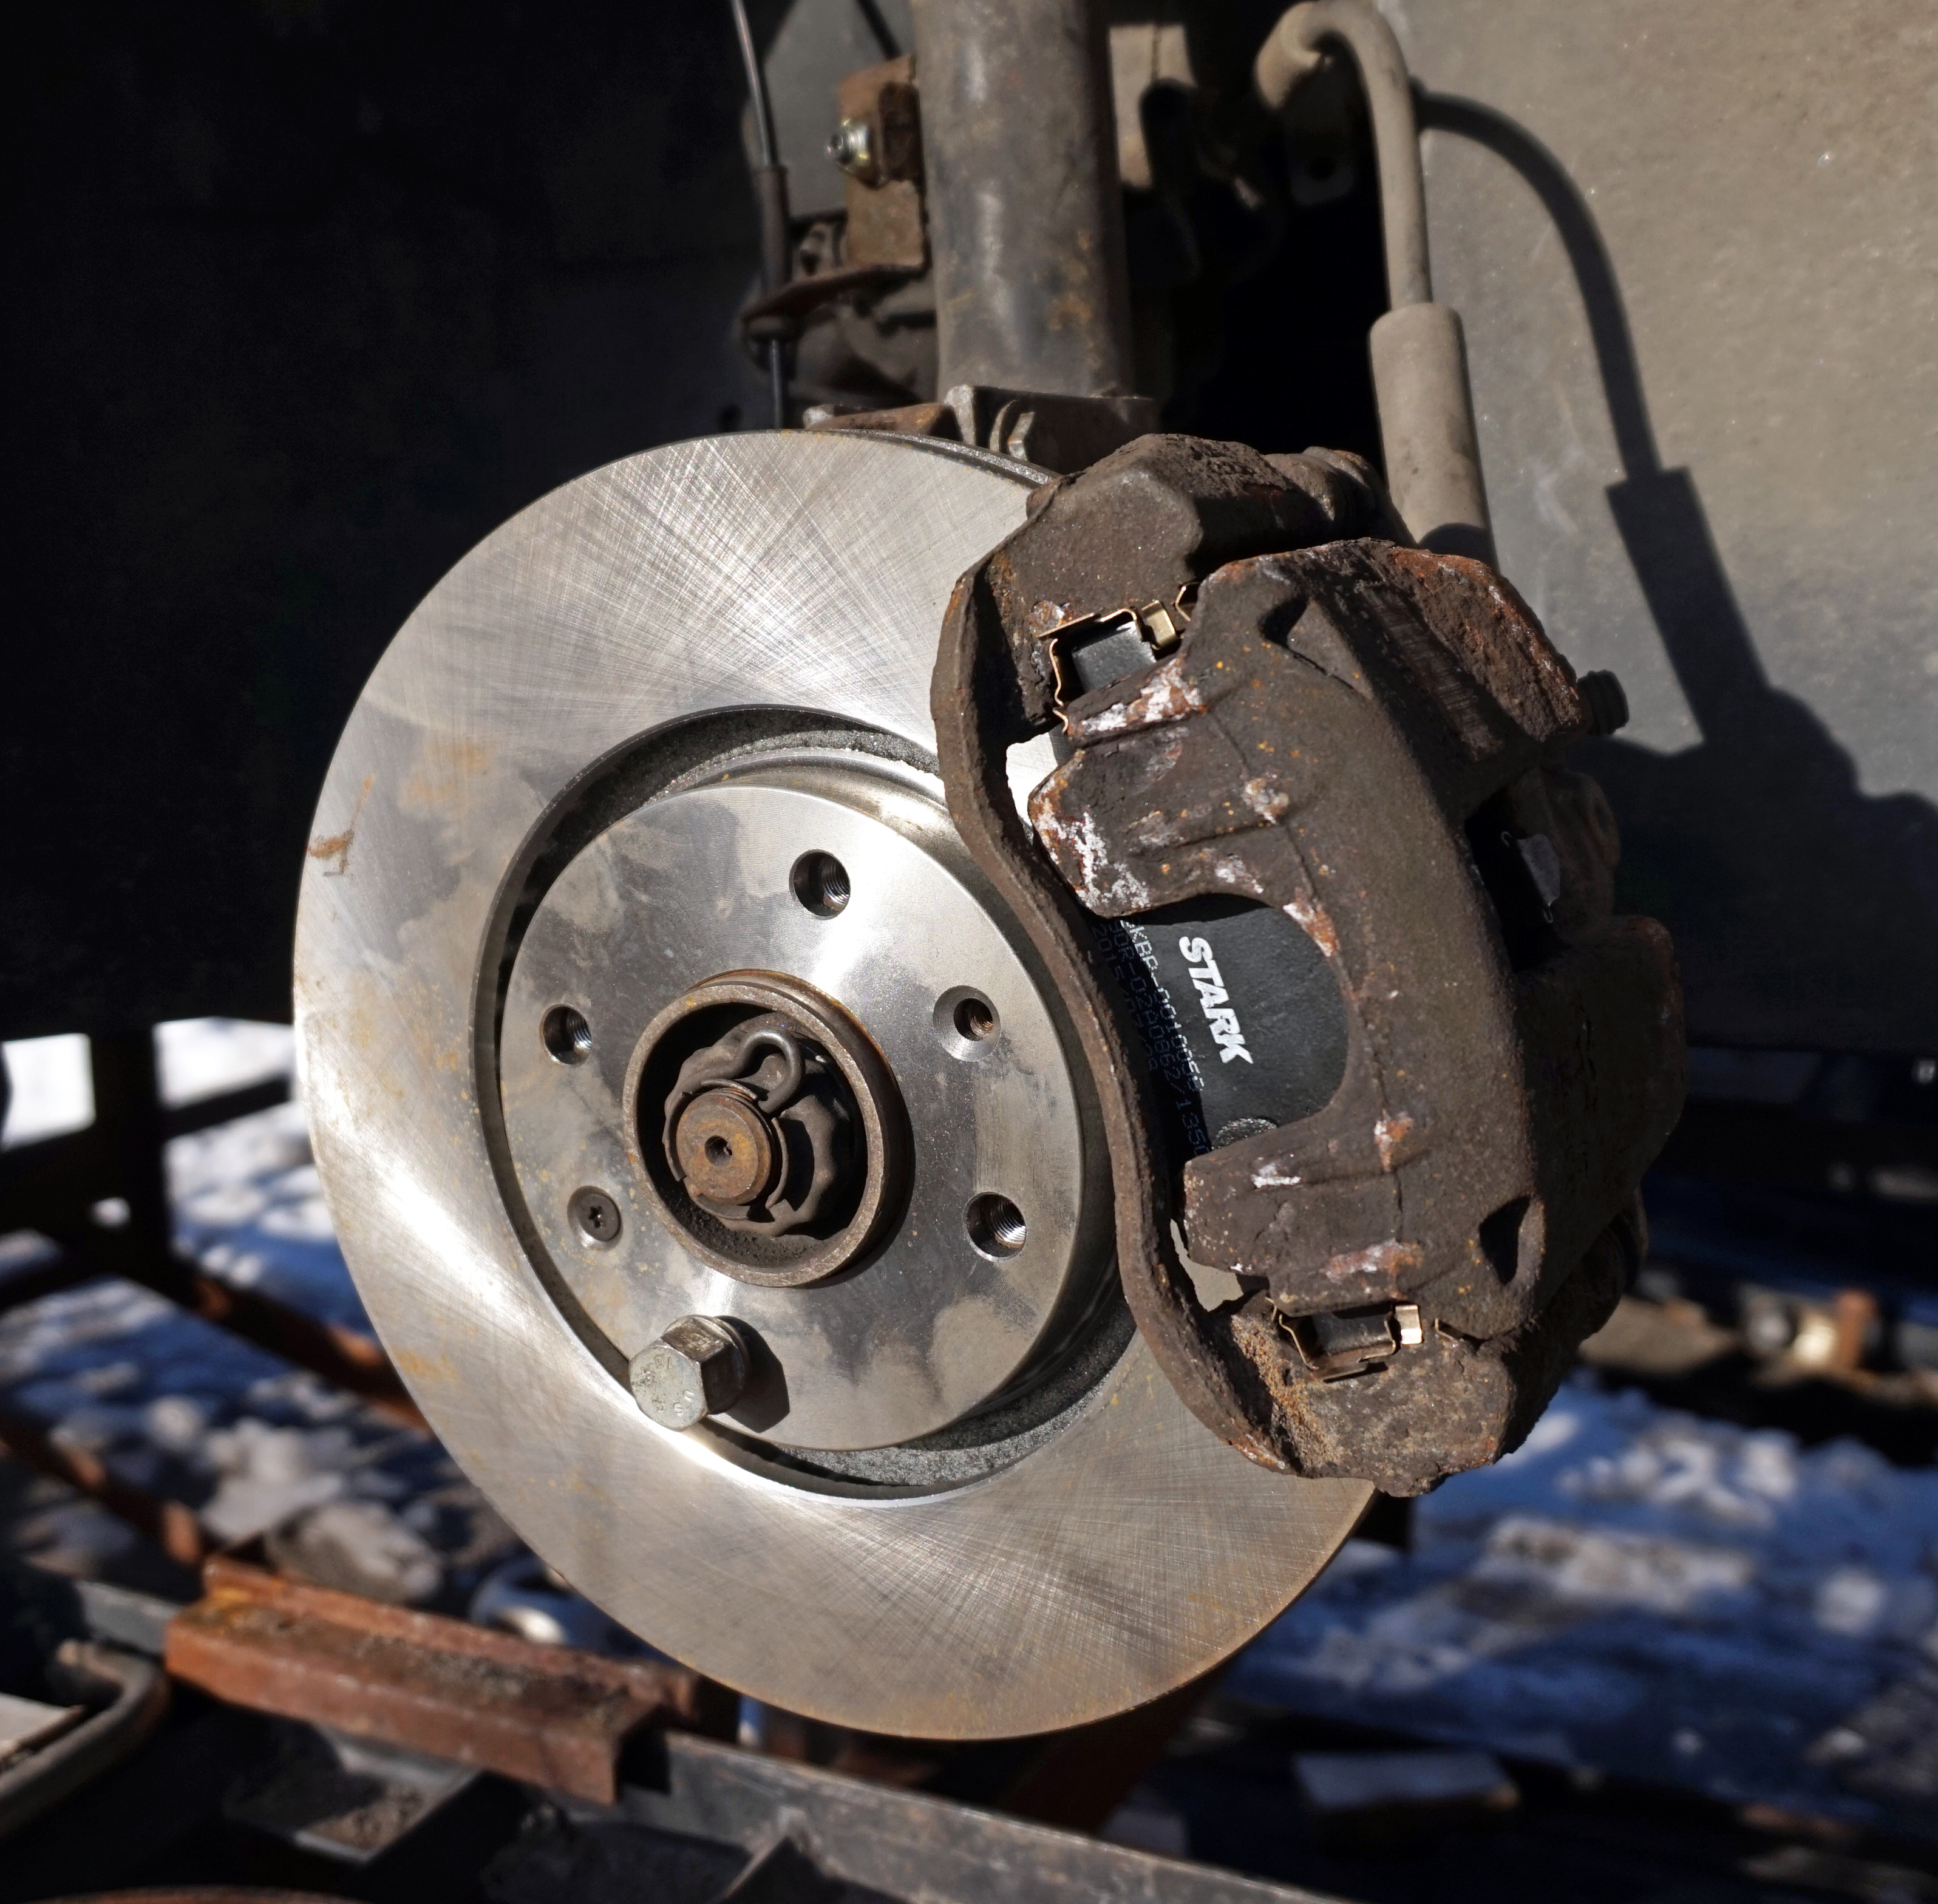
1. Secure the vehicle
Park on a firm and level surface. Select a gear or park and secure the wheels that remain on the ground. Loosen the wheel bolts slightly before lifting the vehicle.
Lift the vehicle using the correct jacking point and place it securely on approved axle stands. Never work on a vehicle that is supported only by a jack.
2. Remove the wheel and inspect the brakes
Remove the wheel and inspect the brake hose, caliper, slider bolts, pads and disc. Look for leaks, uneven wear, corrosion, cracks and other damage.
3. Remove the brake caliper
Release the caliper slider bolts or mounting bolts according to the vehicle manufacturer’s instructions. Suspend the caliper using a hook or strong wire. It must never hang from the brake hose.
4. Remove the pads and caliper carrier
Remove the old pads and note the position of springs, wear indicators and fitting clips. When replacing the brake disc, the caliper carrier normally also needs to be removed.
5. Remove the old brake disc
Remove any retaining screw and pull the disc off the hub. Clean the hub surface thoroughly. Rust or dirt between the hub and disc can cause run-out, vibration and uneven wear.
6. Install the new disc
Remove protective coating from the friction surfaces using suitable brake cleaner when required by the manufacturer. Install the disc and retaining screw. Do not allow grease or oil to contact the friction surfaces.
7. Retract the brake piston
Check the level in the brake-fluid reservoir before retracting the piston. On some rear brakes, the piston must be pressed and rotated simultaneously. An electronic parking brake may require service mode and diagnostic equipment.
8. Install the new brake pads
Clean the pad guides and install new clips when supplied. Use only the recommended lubricant on the specified contact points. Lubricant must never contact the brake disc or pad friction material.
9. Install the caliper and wheel
Install the caliper carrier, caliper and remaining parts. Use new bolts when required by the manufacturer and tighten all connections to the correct torque. Install the wheel and tighten the wheel bolts in a cross pattern to the specified torque.
10. Check everything before driving
- Pump the brake pedal several times until it becomes firm.
- Check the brake-fluid level.
- Check that there are no leaks.
- Check that the wheel rotates normally.
- Test the brakes carefully at low speed in a safe area.
Video: replacing brake components
This Norwegian video explains brake pads, brake discs and common wear in a vehicle’s braking system.
Bedding in new brakes
New pads and discs normally require a bedding-in period. Avoid unnecessary hard or prolonged braking at first and always follow the brake-component manufacturer’s instructions.
Find the correct parts
Use the registration-number search on Babiuk Bil to check the vehicle model, engine and technical information. Always compare part numbers, dimensions and OE numbers with the retailer before ordering.