
Posted on

How to change engine oil and the oil filter

Regular replacement of the engine oil and oil filter helps protect the engine against wear, deposits and overheating. This guide shows the general work sequence for a typical passenger car.

Important: The correct oil type, quantity, interval and tightening torque vary between vehicles. Always check the owner’s manual or workshop data for your specific engine.

What you need

  • Engine oil with the correct viscosity and approval
  • New oil filter
  • New drain-plug sealing washer or gasket
  • Container for collecting used oil
  • Socket set and an oil-filter wrench if required
  • Torque wrench
  • Funnel, gloves and paper towels
  • Garage jack and approved axle stands if required
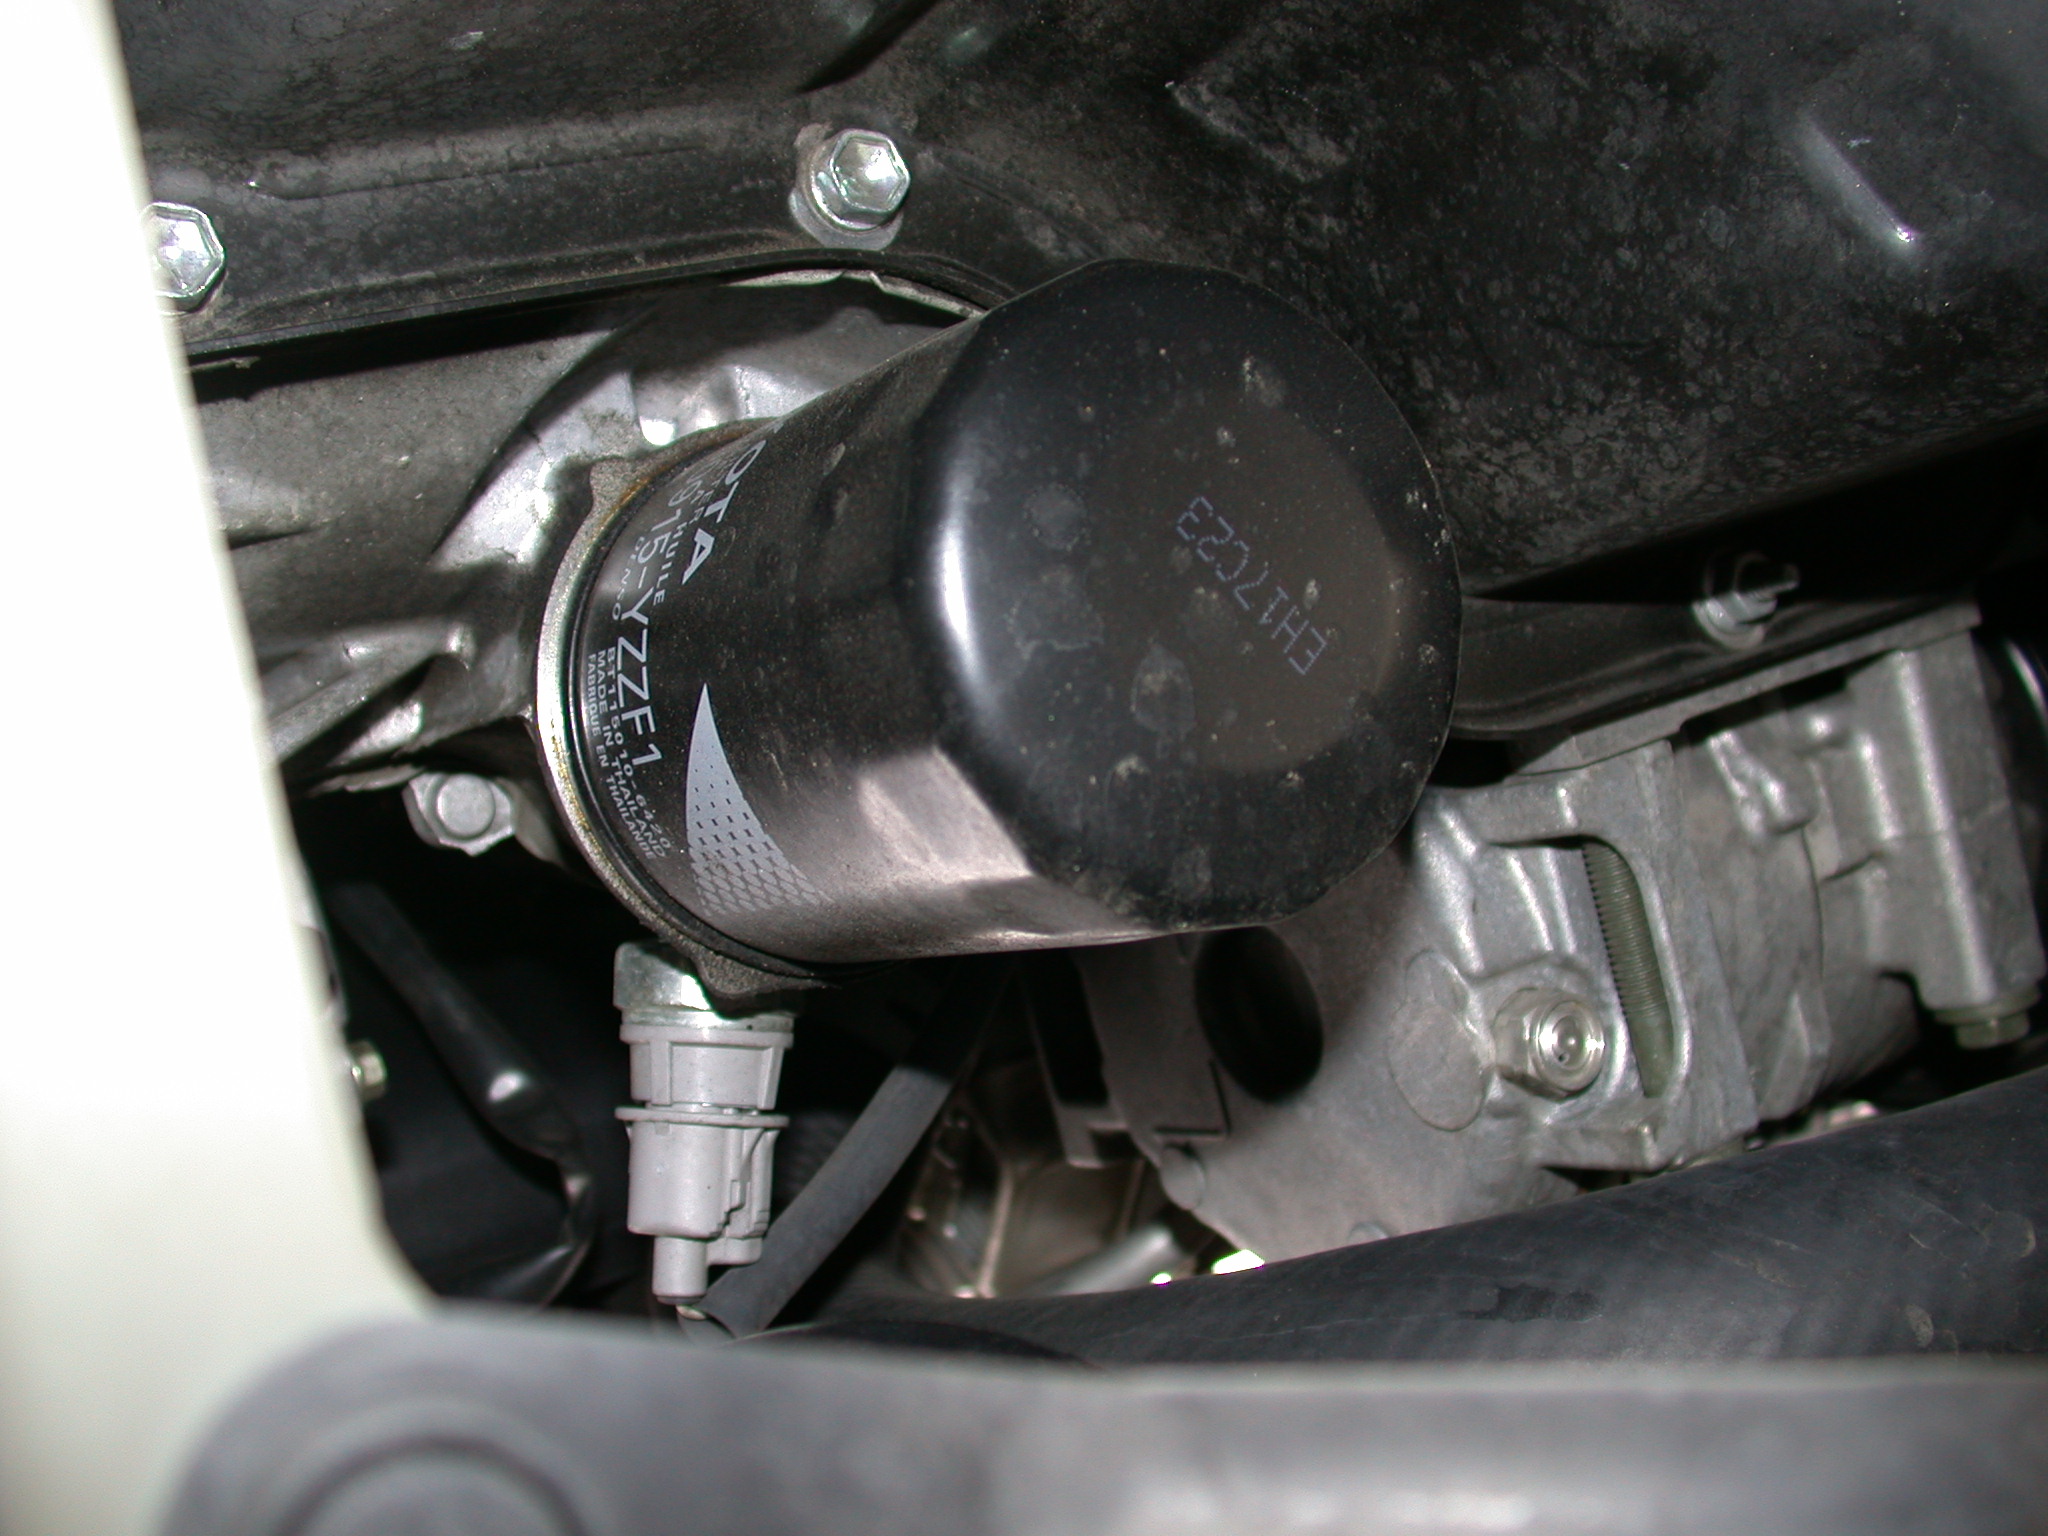
Engine oil filter for a passenger car
A typical oil filter for a passenger car. Photo: Dvortygirl / Wikimedia Commons, CC BY-SA 3.0.

1. Find the correct oil and filter

Use the vehicle registration number, engine code or VIN to find the correct oil filter. The engine oil must have both the correct viscosity, such as 5W-30, and the required manufacturer approval. Two oils with the same viscosity may have different approvals.

2. Warm the engine slightly

Run the engine for a few minutes so that the oil becomes warm and drains more easily. The engine and exhaust system must not become so hot that they can cause burns.

3. Secure the vehicle

Park on a firm and level surface. If the vehicle must be lifted, use the correct jacking points and approved axle stands. Never work under a vehicle supported only by a jack.

4. Drain the old oil

Place the collection container beneath the oil pan. Carefully loosen the drain plug and allow the oil to drain completely. Remember that the oil may be hot.

5. Replace the oil filter

Release the old filter using the appropriate tool. Check that the old rubber seal has not remained on the engine. Clean the sealing surface before installing the new filter.

On a conventional spin-on filter, lightly lubricate the new seal with clean engine oil. The filter is normally tightened by hand according to the manufacturer’s instructions. Cartridge filters may require a new O-ring and a specified tightening torque.

6. Install the drain plug

Install a new sealing washer or gasket when specified. Tighten the drain plug to the correct torque. Excessive tightening can damage the threads in the oil pan.

7. Add new engine oil

Initially add slightly less than the specified capacity. Wait briefly and check the level with the dipstick or the vehicle’s electronic level measurement. Add oil gradually. Excessive oil level can also damage the engine.

8. Start the engine and check

  • Start the engine and allow it to idle briefly.
  • Check that the oil-pressure warning light goes out.
  • Check for leaks around the filter and drain plug.
  • Stop the engine and wait for a few minutes.
  • Check the oil level again and top up when necessary.

Video: changing the oil yourself

This Norwegian video provides a brief general demonstration of replacing engine oil and an oil filter.

What should you do with used oil?

Used engine oil and filters must not be disposed of with household waste or poured into drains or the environment. Take them to an approved recycling station or another authorised collection point.

Common oil-change mistakes

  • Incorrect oil viscosity or missing manufacturer approval
  • Too much or too little engine oil
  • The old filter seal remains attached
  • The drain plug is tightened too much
  • The oil level is not checked after starting the engine
  • The service indicator is reset without completing the work correctly

Find the correct service parts

Search by registration number on Babiuk Bil to see the vehicle model, engine capacity and engine code. Always confirm the oil specification, filter type and OE number with the retailer before ordering.
Posted on

How to replace brake pads and brake discs

Worn brake pads and brake discs can reduce braking performance and cause vibration and unusual noise. This guide provides a general overview of how these parts are usually replaced on a passenger car.

Important: Brakes are safety-critical components. Procedures and tightening torques vary between vehicles. Always use the workshop manual for the relevant model. If you are uncertain, the work should be performed by a qualified workshop.

What you need

  • Garage jack and approved axle stands
  • Wheel wrench and socket set
  • Torque wrench
  • Tool for pressing or winding back the brake piston
  • Wire brush and suitable brake cleaner
  • New brake pads and brake discs suitable for the vehicle
  • New fitting parts or slider bolts when required by the manufacturer
  • Suitable lubricant for contact points, never for friction surfaces
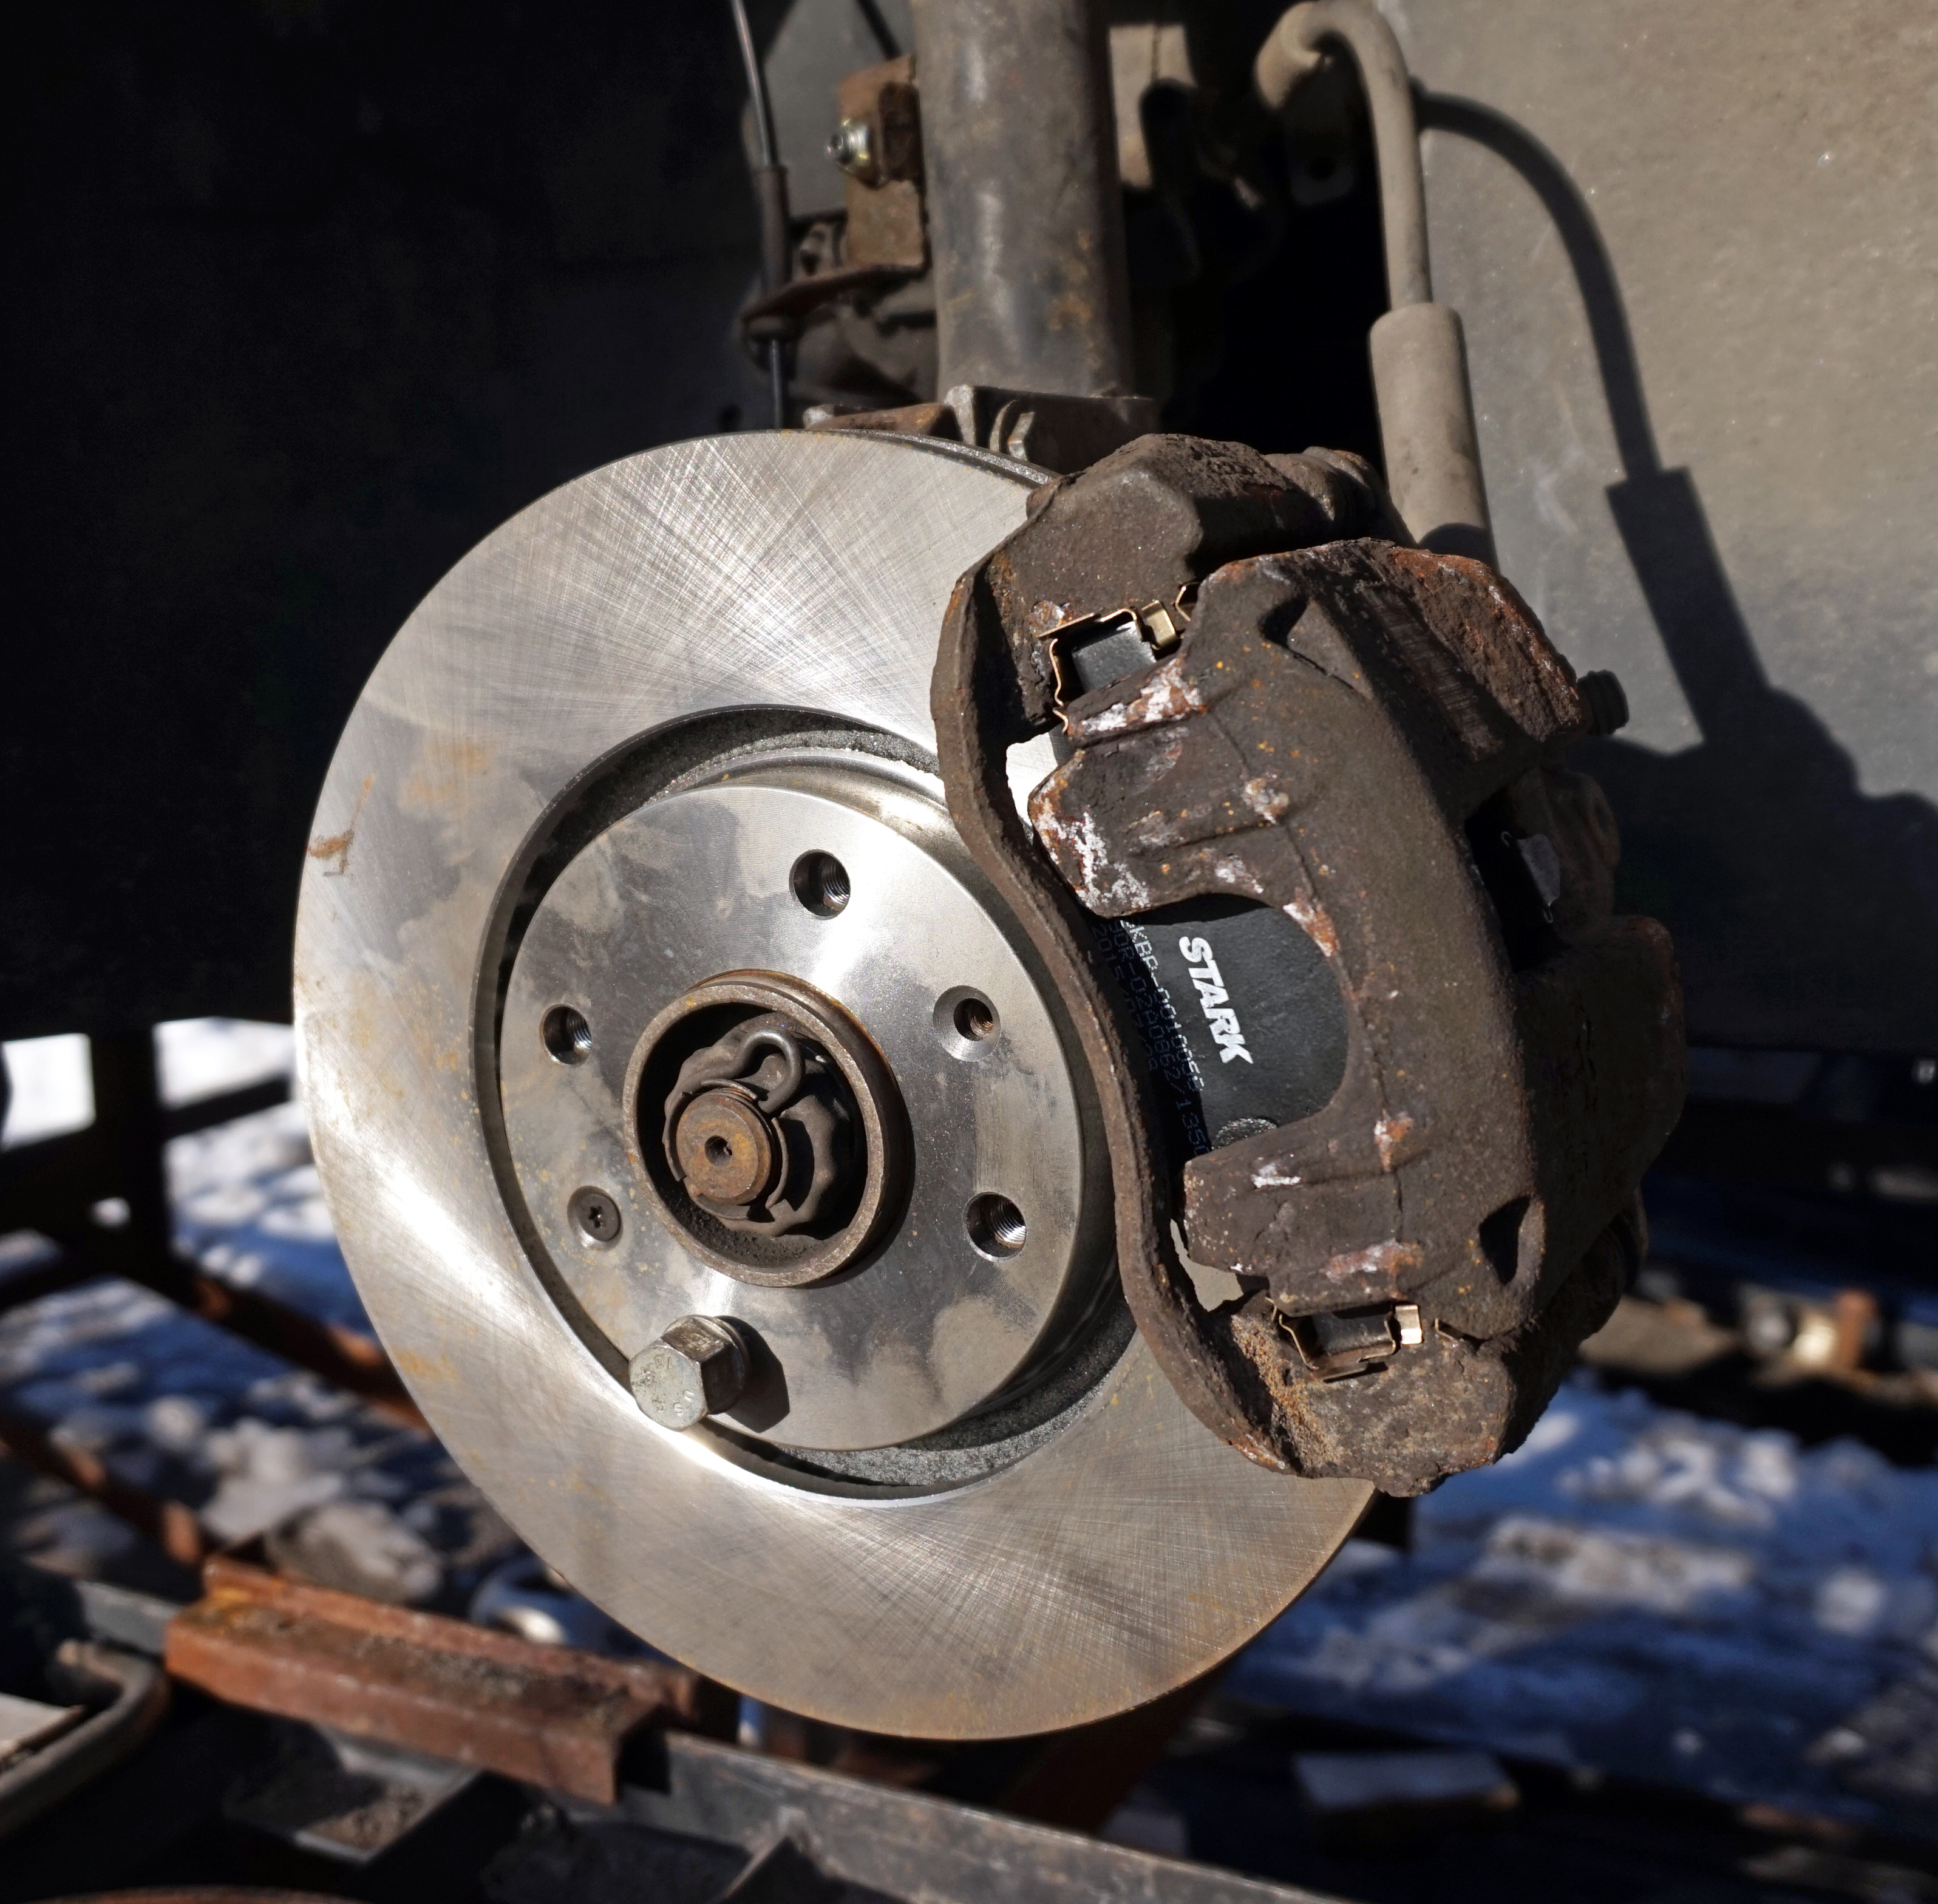
Brake pad for a passenger car
A typical brake pad for a passenger car. Photo: Tiia Monto / Wikimedia Commons, CC BY-SA 4.0.

1. Secure the vehicle

Park on a firm and level surface. Select a gear or park and secure the wheels that remain on the ground. Loosen the wheel bolts slightly before lifting the vehicle.

Lift the vehicle using the correct jacking point and place it securely on approved axle stands. Never work on a vehicle that is supported only by a jack.

2. Remove the wheel and inspect the brakes

Remove the wheel and inspect the brake hose, caliper, slider bolts, pads and disc. Look for leaks, uneven wear, corrosion, cracks and other damage.

3. Remove the brake caliper

Release the caliper slider bolts or mounting bolts according to the vehicle manufacturer’s instructions. Suspend the caliper using a hook or strong wire. It must never hang from the brake hose.

4. Remove the pads and caliper carrier

Remove the old pads and note the position of springs, wear indicators and fitting clips. When replacing the brake disc, the caliper carrier normally also needs to be removed.

5. Remove the old brake disc

Remove any retaining screw and pull the disc off the hub. Clean the hub surface thoroughly. Rust or dirt between the hub and disc can cause run-out, vibration and uneven wear.

6. Install the new disc

Remove protective coating from the friction surfaces using suitable brake cleaner when required by the manufacturer. Install the disc and retaining screw. Do not allow grease or oil to contact the friction surfaces.

7. Retract the brake piston

Check the level in the brake-fluid reservoir before retracting the piston. On some rear brakes, the piston must be pressed and rotated simultaneously. An electronic parking brake may require service mode and diagnostic equipment.

8. Install the new brake pads

Clean the pad guides and install new clips when supplied. Use only the recommended lubricant on the specified contact points. Lubricant must never contact the brake disc or pad friction material.

9. Install the caliper and wheel

Install the caliper carrier, caliper and remaining parts. Use new bolts when required by the manufacturer and tighten all connections to the correct torque. Install the wheel and tighten the wheel bolts in a cross pattern to the specified torque.

10. Check everything before driving

  • Pump the brake pedal several times until it becomes firm.
  • Check the brake-fluid level.
  • Check that there are no leaks.
  • Check that the wheel rotates normally.
  • Test the brakes carefully at low speed in a safe area.

Video: replacing brake components

This Norwegian video explains brake pads, brake discs and common wear in a vehicle’s braking system.

Bedding in new brakes

New pads and discs normally require a bedding-in period. Avoid unnecessary hard or prolonged braking at first and always follow the brake-component manufacturer’s instructions.

Find the correct parts

Use the registration-number search on Babiuk Bil to check the vehicle model, engine and technical information. Always compare part numbers, dimensions and OE numbers with the retailer before ordering.

Posted on

When should you replace brake discs and brake pads?

When should you replace brake discs and brake pads?

The brakes are among the vehicle’s most important safety systems. Worn pads or discs may cause longer braking distances, vibration and uneven braking performance.

Common signs of wear

  • Grinding or squealing while braking
  • Vibration in the steering wheel or brake pedal
  • The vehicle pulls to one side
  • Longer braking distance than normal
  • Brake warning light

Check the thickness

Brake pads and brake discs have a minimum permitted thickness. This value varies between vehicle models and manufacturers. Always check the technical data or ask a workshop if you are uncertain.

Replace both sides

Brake pads and discs should normally be replaced in pairs on the same axle. This helps maintain even braking performance and vehicle stability.

Choose the correct part

The same vehicle model may use several braking systems. Check the registration number, engine version, disc diameter and OE number before ordering.


Note: Work on the braking system requires suitable knowledge and tools. If you are uncertain, the work should be performed by a qualified workshop.

Posted on

How to find the right car part

How to find the right car part

Finding the correct car part is not only about the make and model. Production year, engine version, registration number and original part number may determine whether the part actually fits.

Start with the vehicle registration number

Many online shops allow you to search for a vehicle using its registration number. This reduces the number of displayed products, but you should still check the product description before ordering.

Check the engine and production year

The same vehicle model may have been supplied with several engines, transmissions and braking systems. A part that fits one engine version may therefore not fit another. Check the engine code, power output and production period when this information is available.

Compare part numbers

If you have access to the number on the old part, this may be the safest way to find a replacement. Compare the original number, also called the OE number, with the numbers listed in the product information.

Check dimensions and technical details

For some parts, you should check dimensions, connections, number of terminals, diameter, mounting position and which side of the vehicle the part is intended for. Images alone are not enough to confirm compatibility.

Ask the retailer when uncertain

If you are still uncertain, contact the retailer before purchasing. Provide the registration number, VIN or OE number and ask for confirmation that the part fits your vehicle.


Note: Information on Babiuk Bil is general guidance. Final compatibility must be confirmed with the retailer before ordering.